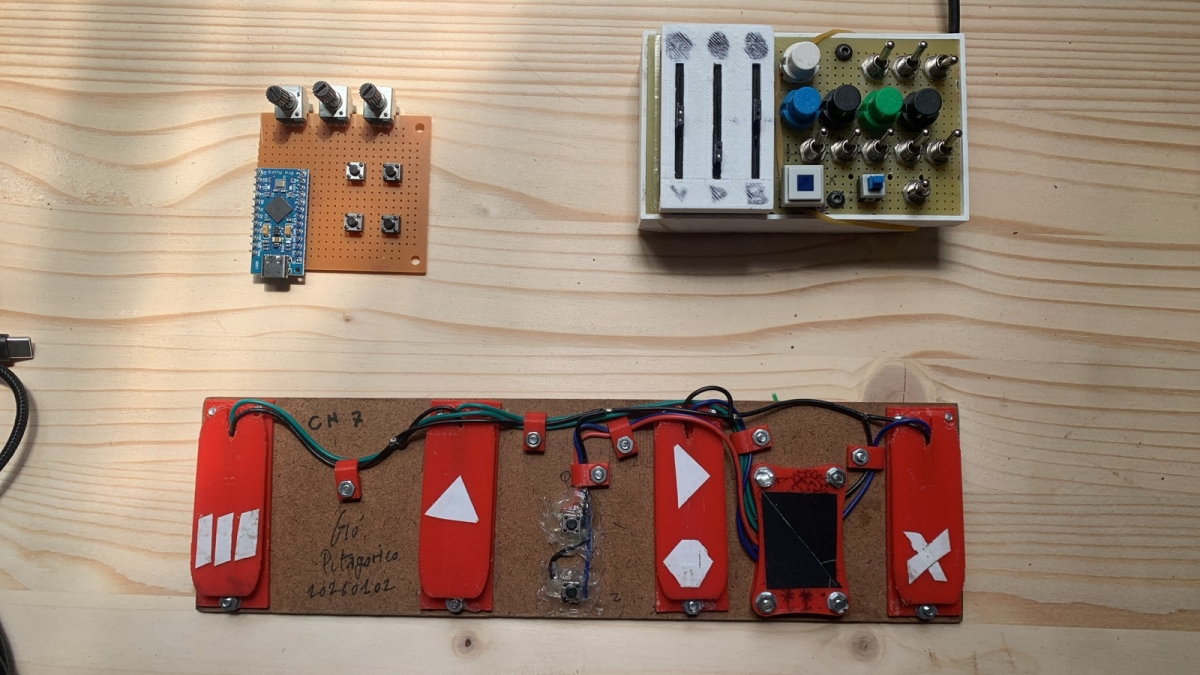
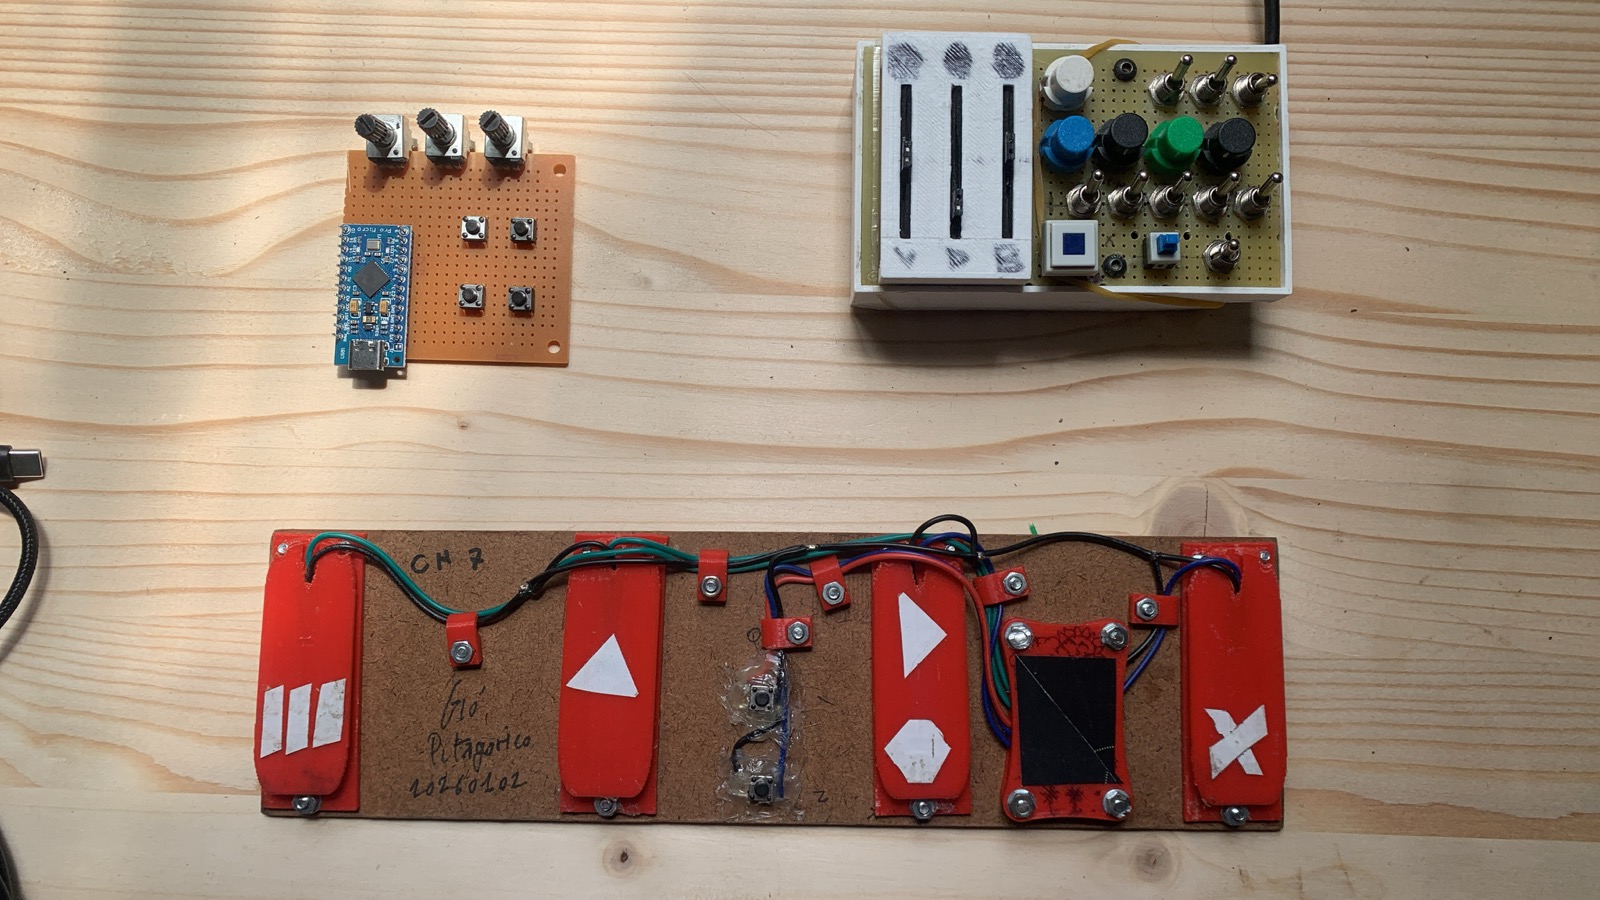

Build a simple usb-MIDI controller with Arduino Pro Micro
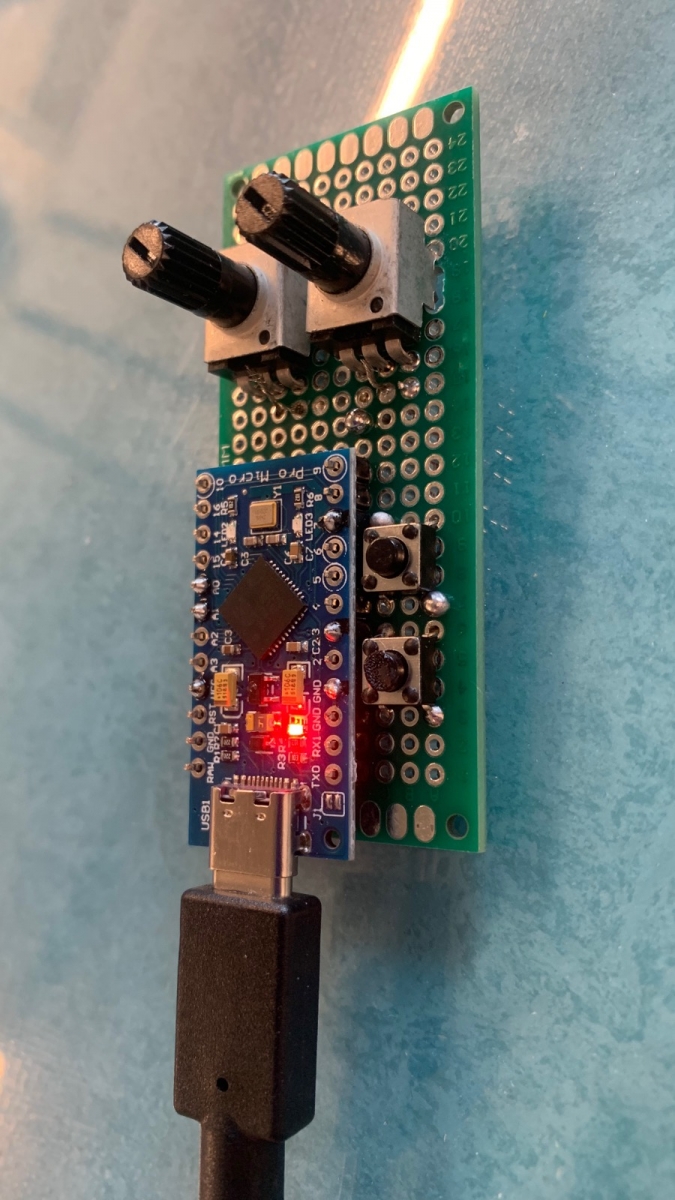
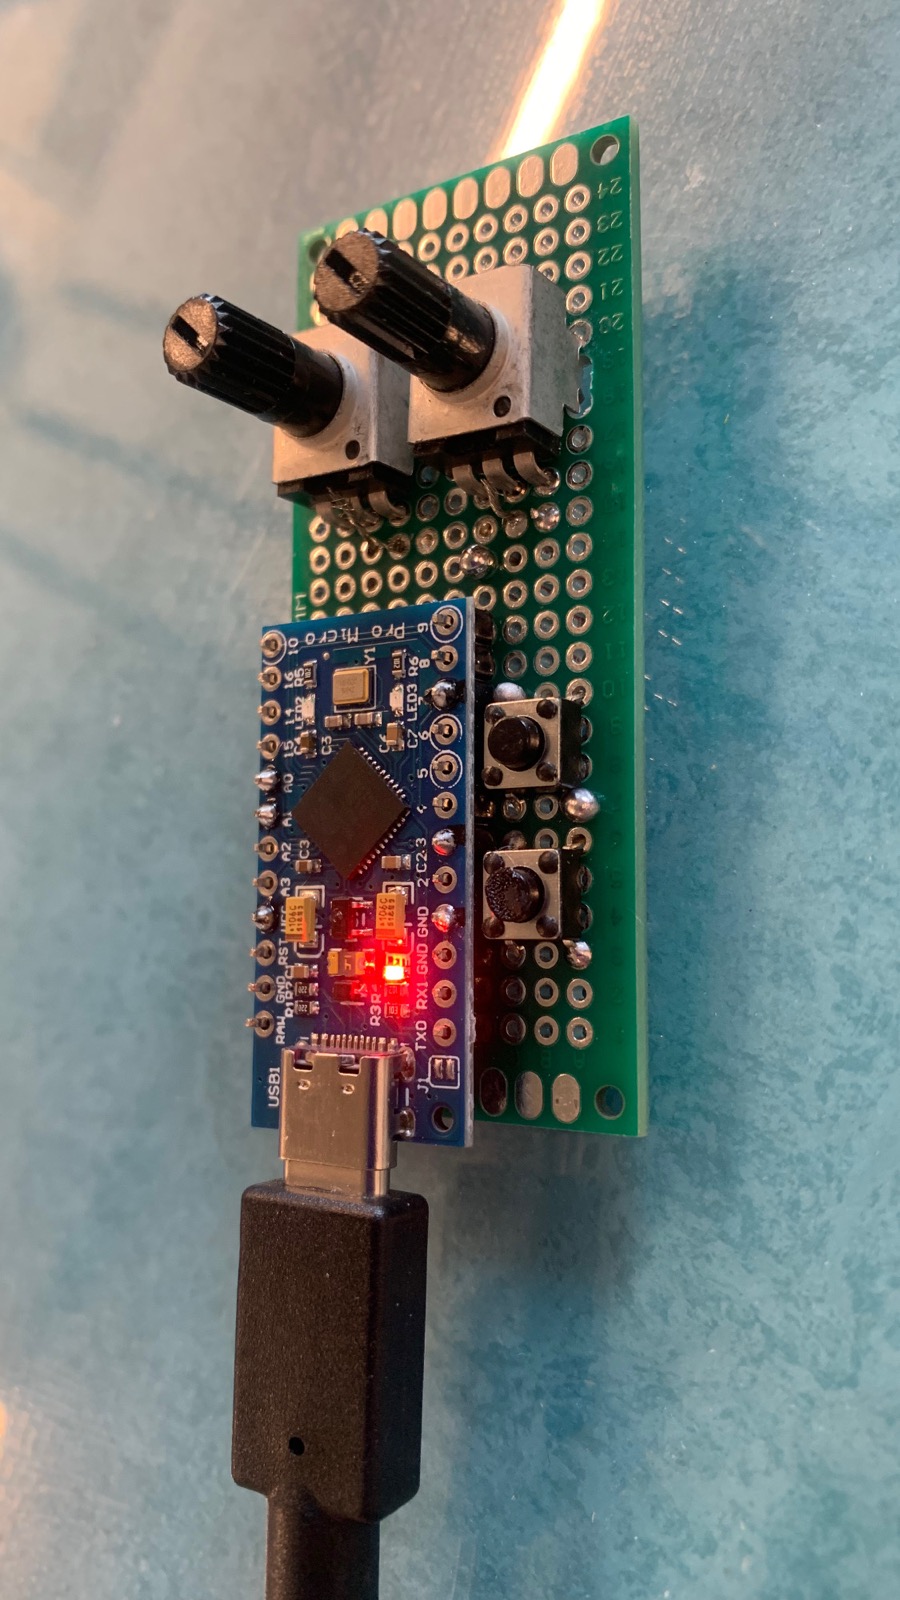
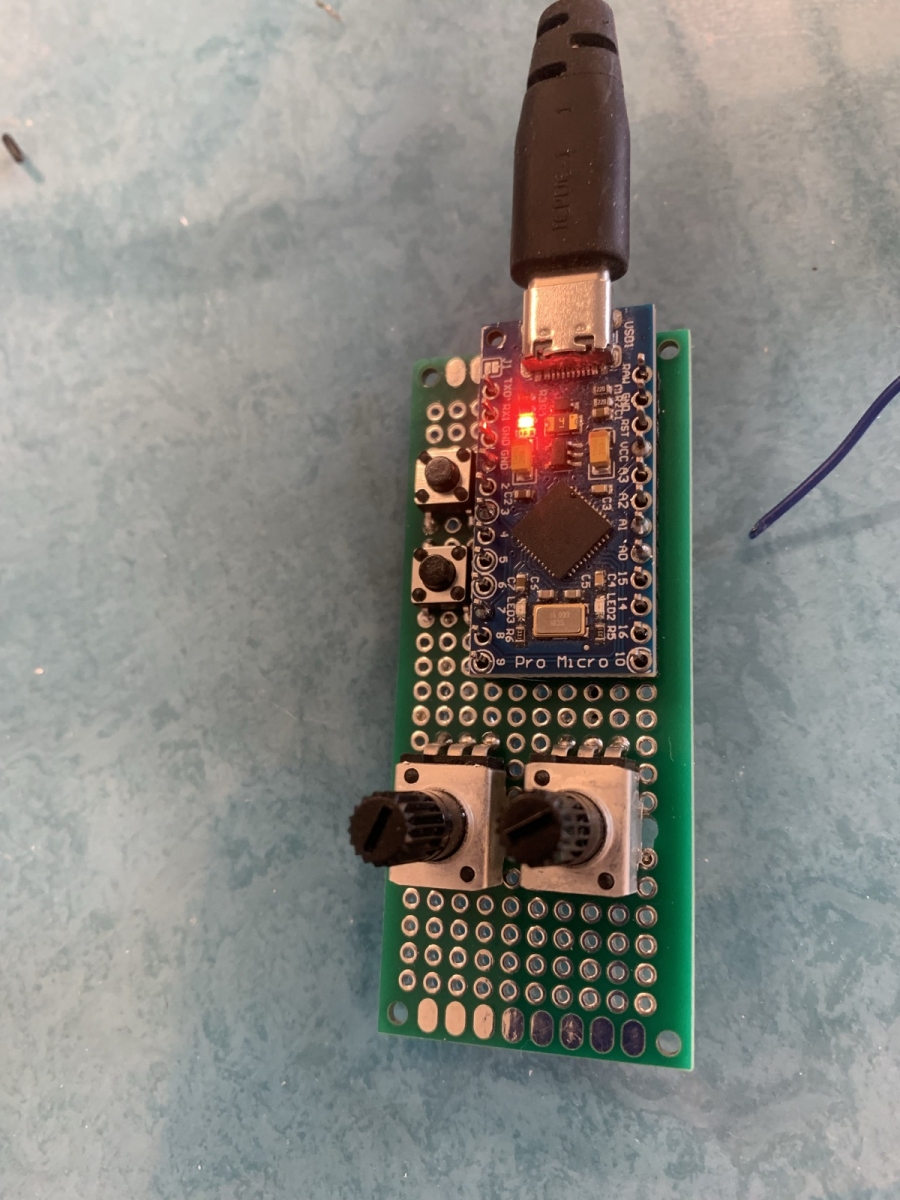
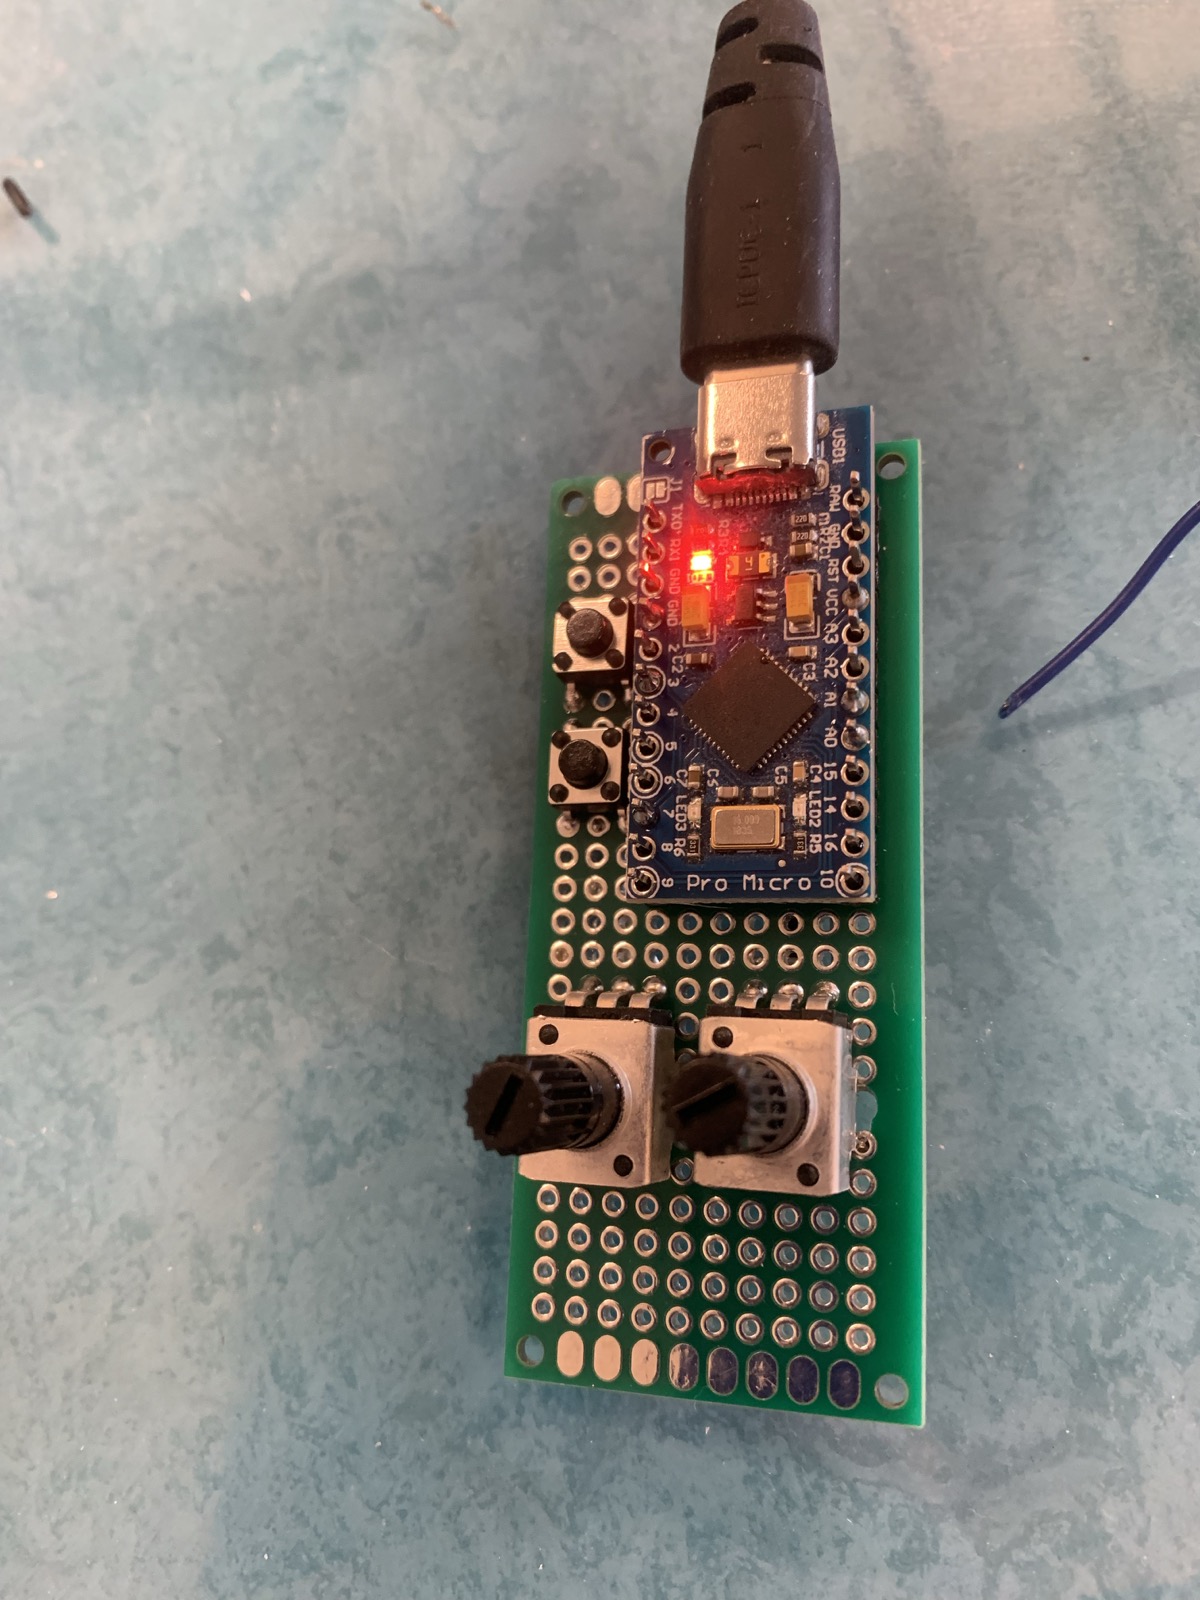
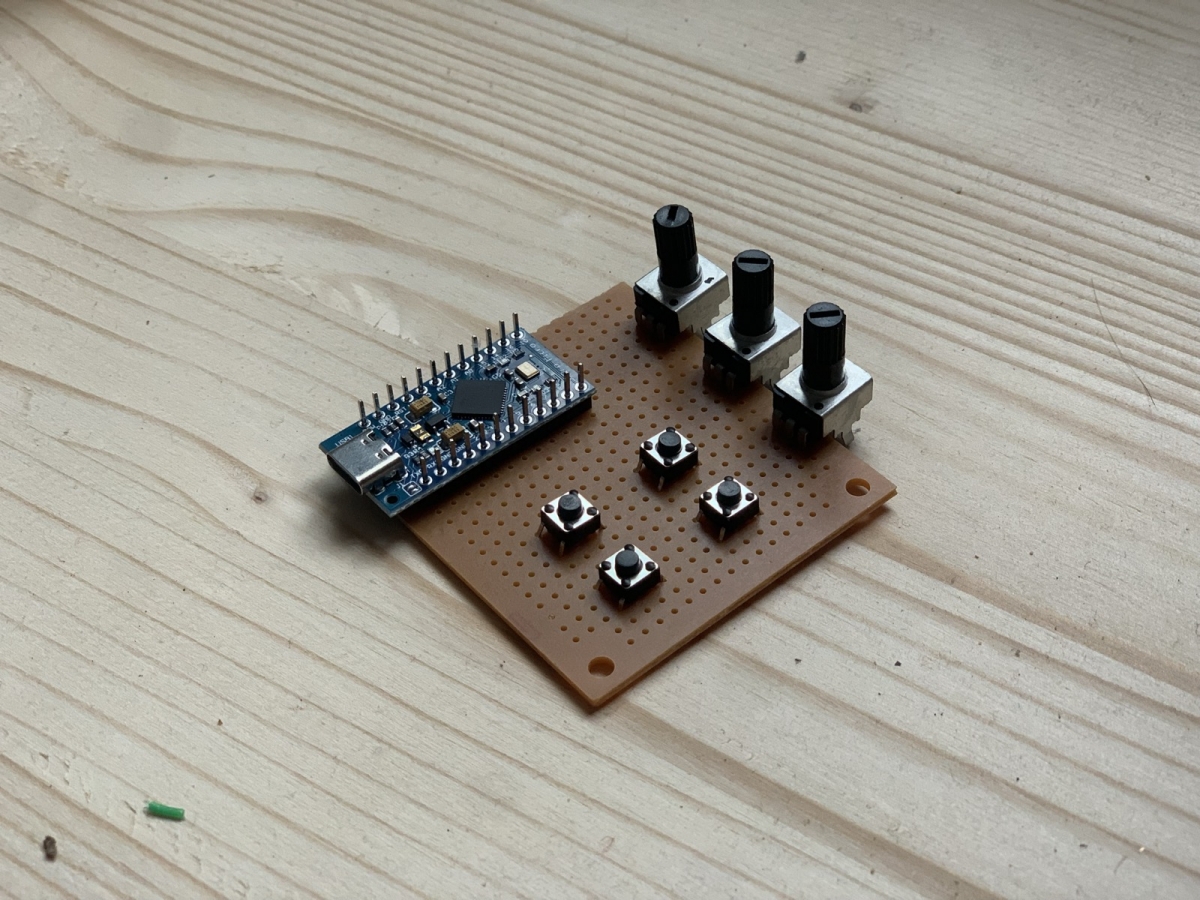
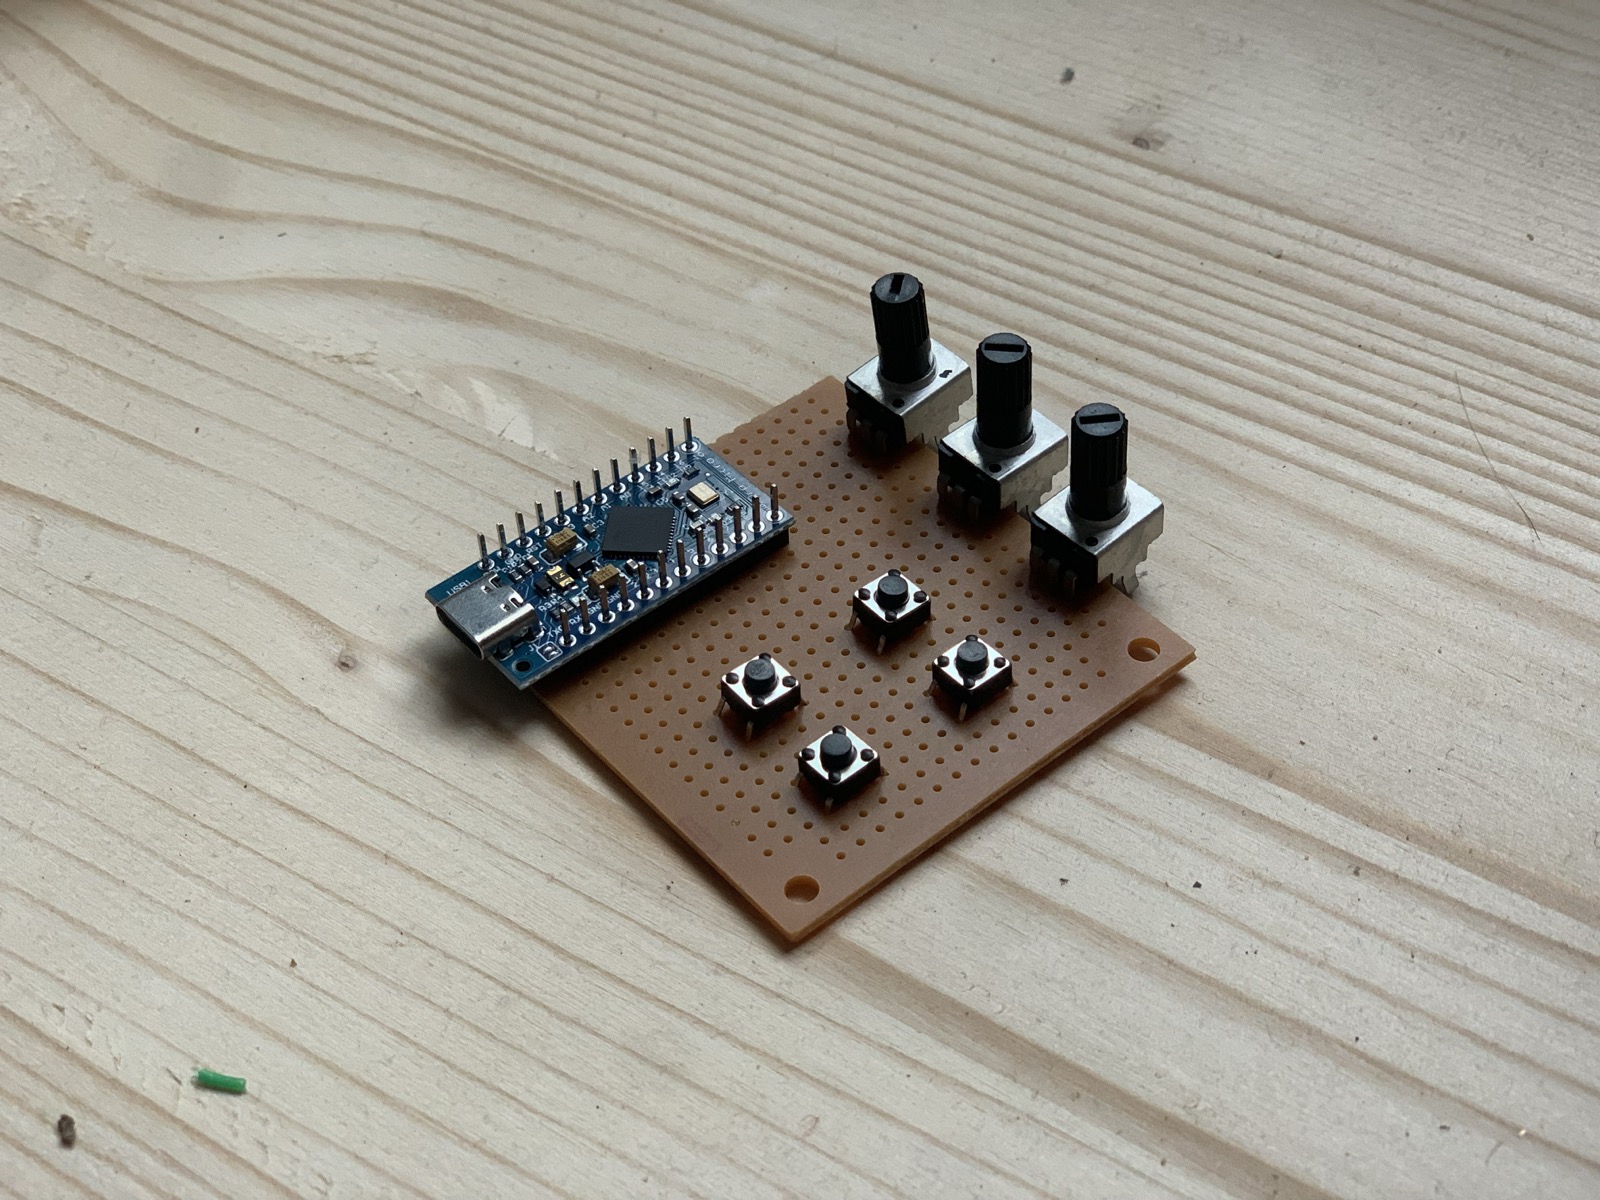
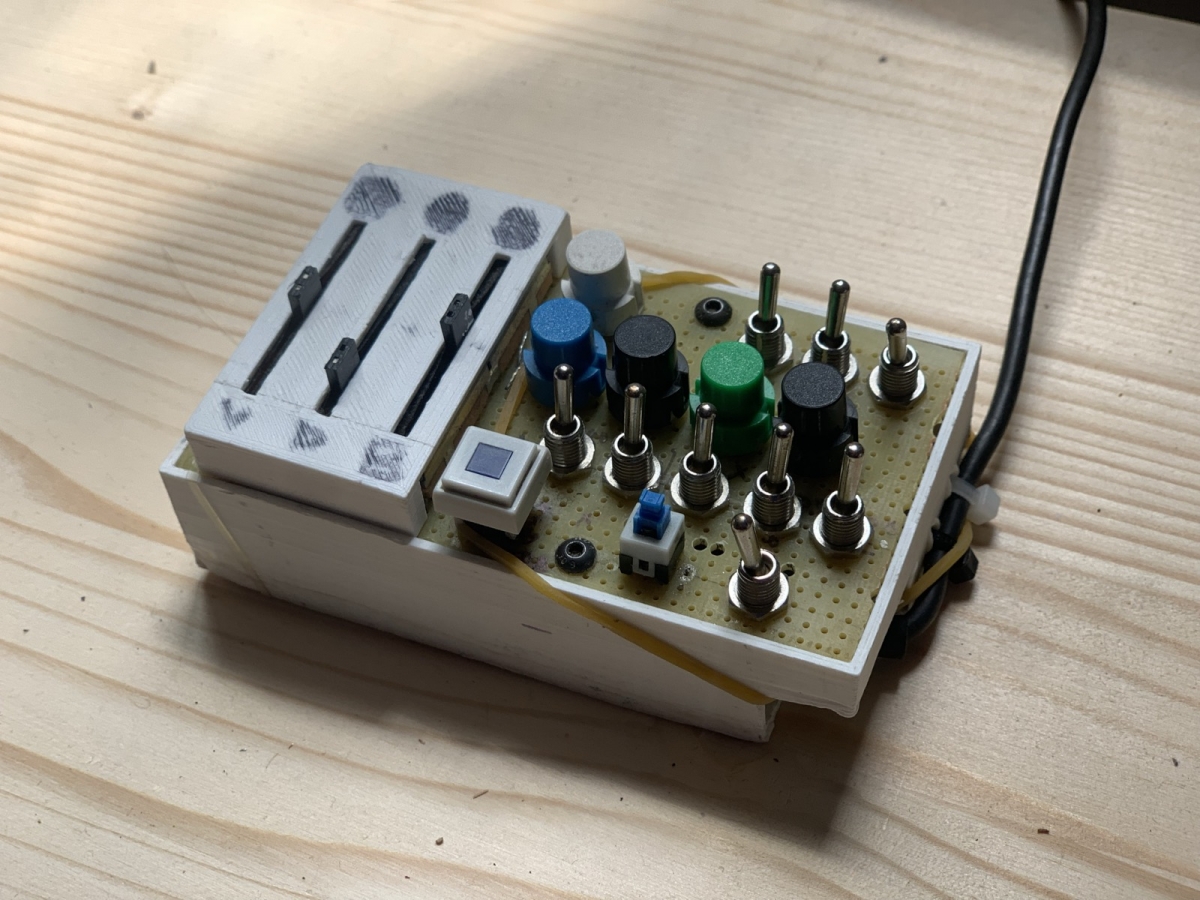
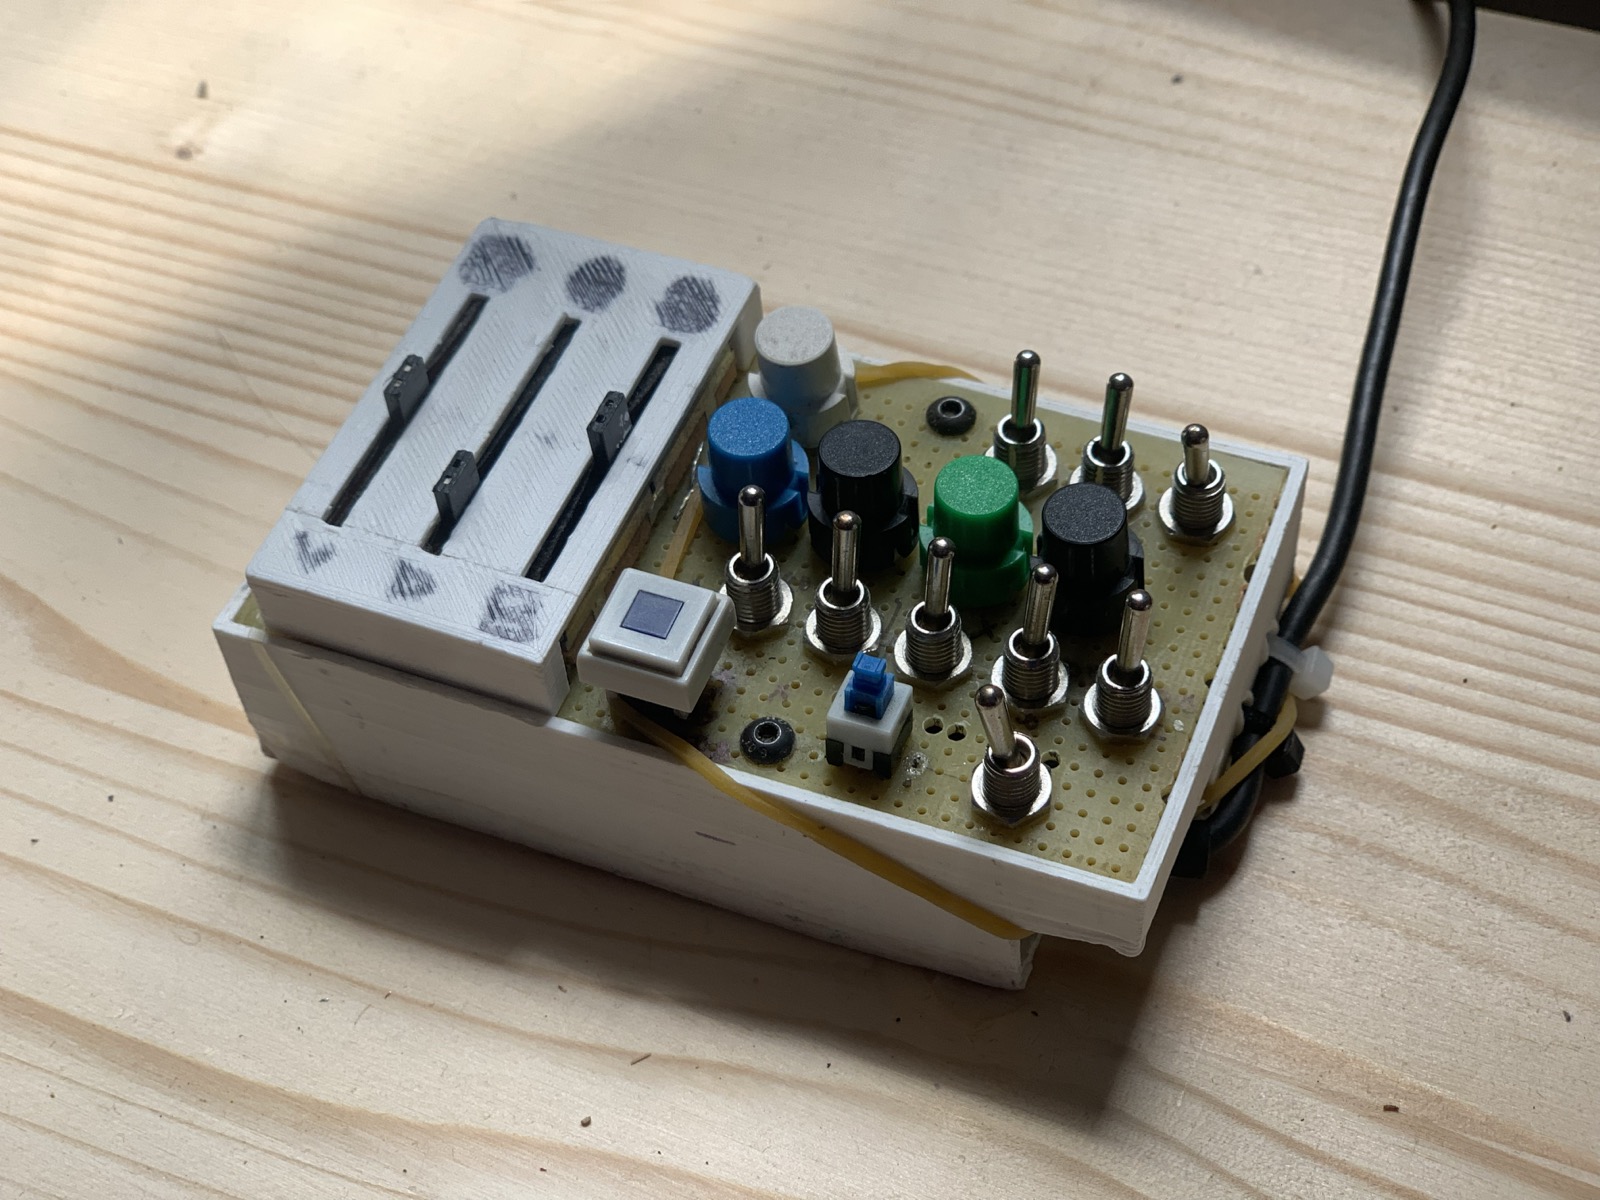
In this 4-hour workshop, you’ll learn how to build your own simple USB-MIDI controller from scratch. No prior skills are required — this is the right place to learn how to solder, assemble your controller, and upload the code that makes it work. The Arduino Pro Micro has native USB support and can appear as a MIDI device on your computer.
All tools and materials are provided, so you can focus on learning and building. By the end of the workshop, you’ll have a working controller you can use with Ableton Live or any other music software that accepts USB-MIDI input.
Bring your laptop and headphones to test your controller!
Program:
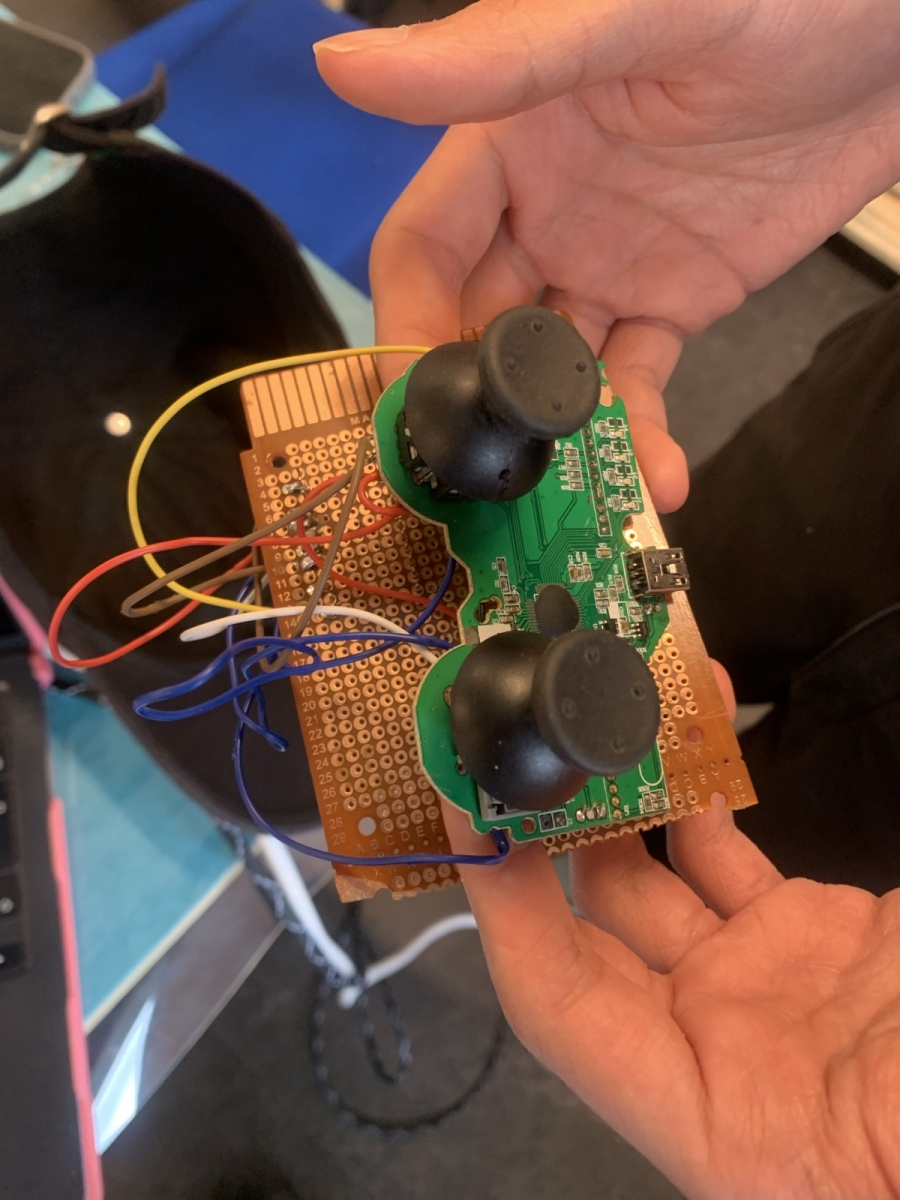
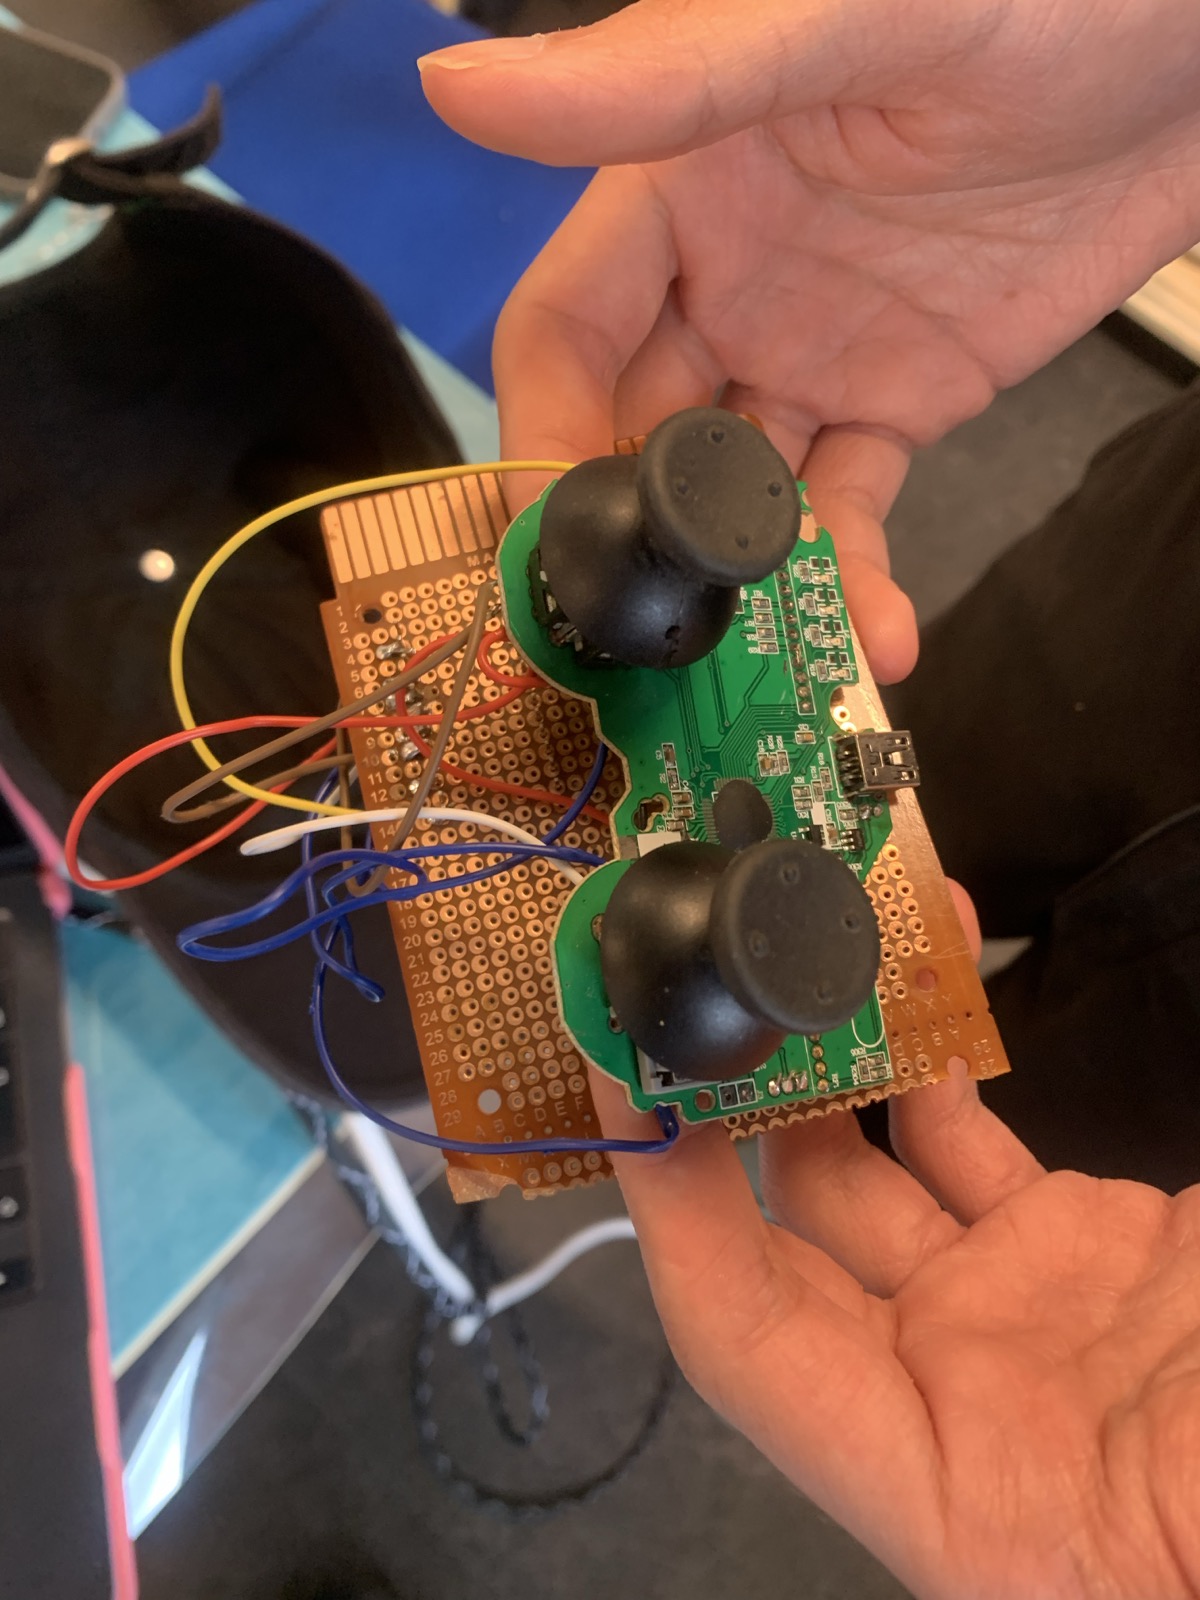
● How to assemble and solder the components
● Coding the micro-controller
● Map your controller in your favorite software
Material (provided):
-10 Arduino Pro Micro
-prototyping boards
-50 pots 100k
-50 Push buttons
-Wires
-10 usb-c cables
In the space:
-A speaker system with minijack input
-Power extensions, plugs
-5 soldering irons
-External screen (or projector)
Students shall bring:
-Laptop (with Arduino software installed)
-Headphones
-Usb adapter (if you only have usb-C)